[2026] The Easy Way to Install Windows 11 on Unsupported CPU (10 Mins)
Can you install Windows 11 with unsupported CPU?
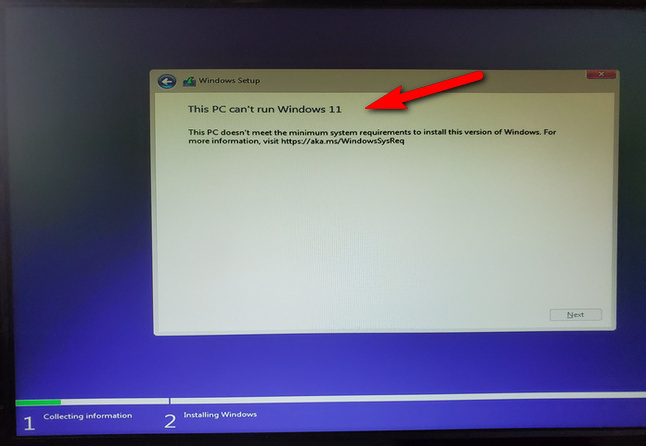
By default, Windows 11 can be only installed on supported CPU according to Microsoft guidelines. You will receive an error message (This PC can't run Windows 11) when trying to install Windows 11 on unsupported CPU. However, there is an easy hack you can follow to bypass this limit and install Windows 11 on unsupported CPU.
Unlike the previous version of Windows 10, running Windows 11 on old CPU becomes much harder as there are a few minimal requirements you should follow based on the Microsoft documentation. In short, you should have an supported CPU processor to install Windows 11. And only a set of modern Intel or AMD processors are on the official list.
If you are going to install Windows 11 on unsupported CPU without any modification, the installation process will be halted and stuck on the following screen.
However, don't worry. In here, we will introduce an easy method to help you install Windows 11 on unsupported CPU. No command prompt and no complex steps at all in 2026.
Part 1. Grab a Copy of Windows 11 ISO Image
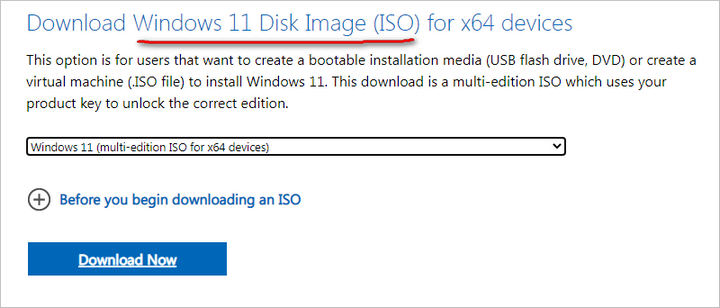
This is the most important part. Please don't download Windows 11 ISO from other sources. Instead, Microsoft offers direct ISO download for Windows 11 from its official website. Please go to the Windows 11 Download page, scroll down and find the ISO download option.
Part 2. Download and Install WinBootMate
WinBootMate is a utility app for creating Windows 11 bootable USB and bypassing Windows 11 system check. Please download and install this app on your computer to get started with our guide.
SYSCute WinBootMate
- Create bootable USB drive from Windows 11/10/8/7/Vista ISO image.
- Bypass Windows 11 CPU, TPM and Secure Boot check in one-click.
- Perfectly run on Windows PC and Mac, including Apple Silicon M1/M2/M3.
- Super easy user interface with modern design.
- Full compatible with Legacy BIOS and UEFI booting schemes.
Part 3. Patch Windows 11 ISO and Bypass CPU Check
Step 1 Plug in the USB Drive
Insert a USB drive into the computer and make sure the device is recognized and show up in Windows explorer.

Step 2 Bypass Windows 11 CPU Check
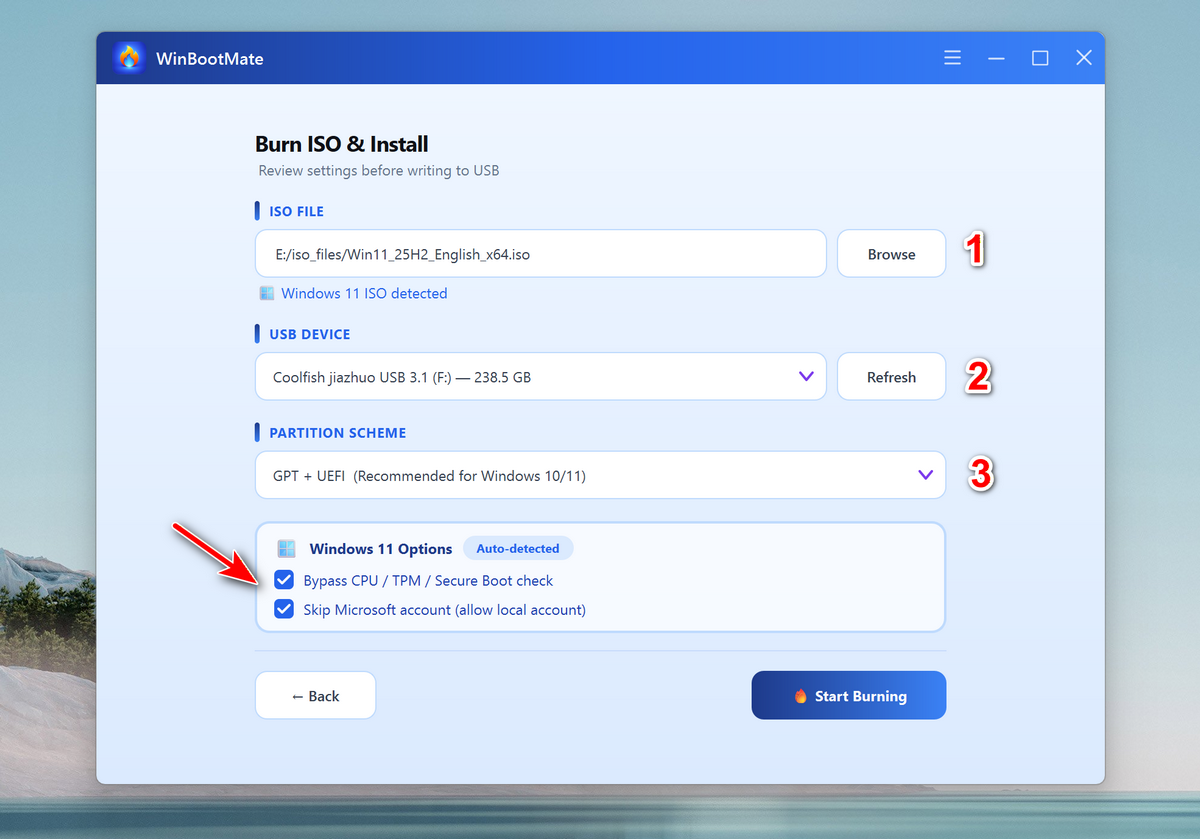
Open WinBootMate app and use the Browse button to import the downloaded Windows 11 ISO into the program. After that, choose "Create A Bootable USB" option. And you will see the drive name under the drop-down menu. After that, enable the "Bypass Windows 11's Secure Boot, TPM and CPU" option. You can also set a new name for the USB drive.
Step 3 Patch Windows 11 ISO and Burn It to USB
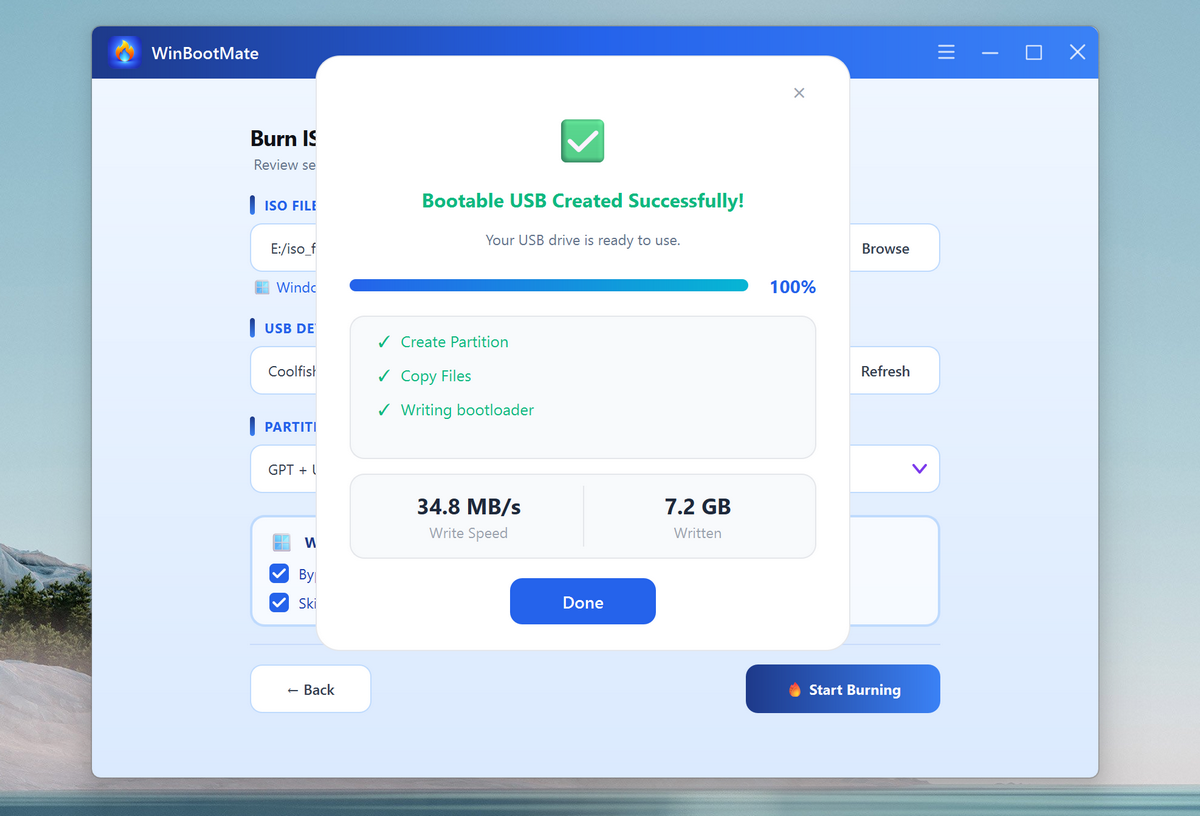
When all the settings are fullfilled correctly, please click the Burn button to start patching Windows 11 ISO and burning the installation files to USB drive. This will make the USB bootable for Windows 11 installation.
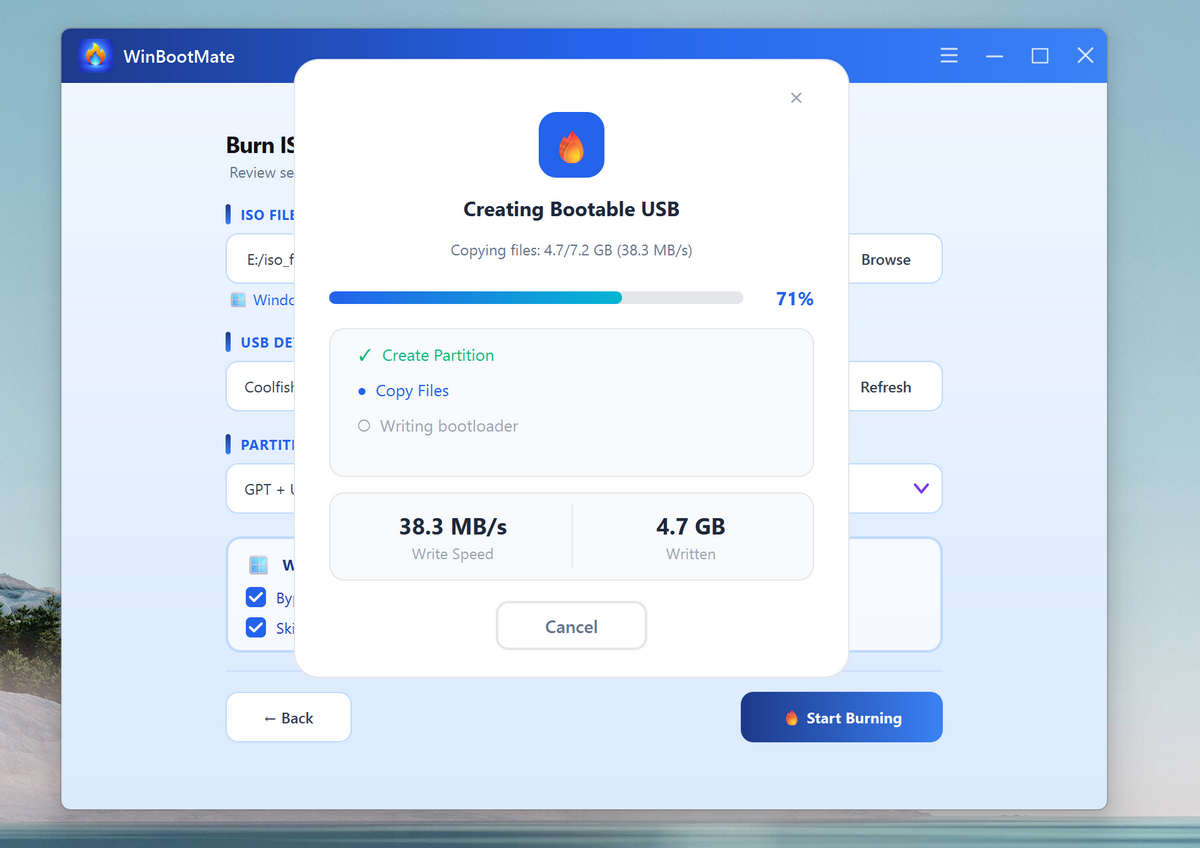
Wait about 10 minutes and you will receive a successful message for this ISO burning. At this time, you should eject the USB drive from the computer.
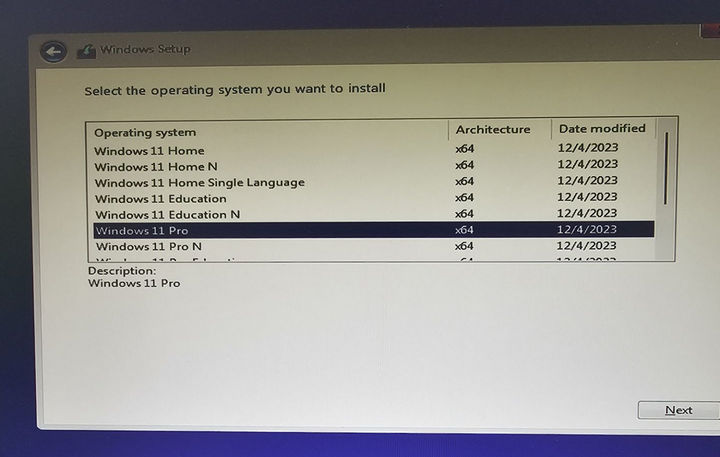
Part 4. Start Installing Windows 11 on Unsupported CPU
Attach the Windows 11 bootable USB to the target computer and reboot your computer. Press the boot key to open up the Boot Menu. Then, choose the USB and start installing Windows 11. At this time, you won't see the "This PC can't run Windows 11" error any more and the installation will go smoothly.
Conclusion
With the help of WinBootMate utility, it becomes much easier to install Windows 11 on an unsupported CPU. The entire process is quite straightforward and no command prompt involved. In addition, this is super safe way to run Windows 11 on unsupported hardware in 2026!